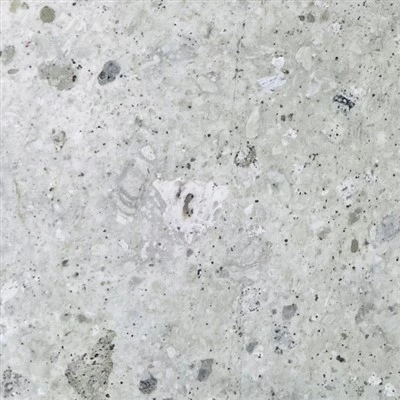
The process of creating a water wave pattern surface on stone is intricate and requires skilled craftsmanship. Below are the main processing steps involved:
1. Selection of Raw Materials
The first and most crucial step is selecting the raw materials. It's essential to choose stone slabs with consistent texture and color. The selection process typically involves washing the stone or comparing sample pieces to ensure uniformity.
2. Slab Cutting
Once the raw material is selected, large slabs are cut according to the desired thickness, typically adding an extra 1mm to account for any adjustments during the next steps of the process.
3. Slab Inspection
After the large slabs are cut, they are inspected for thickness, flatness, and surface quality to ensure they meet production standards.
4. Slab Repair
If there are any cracks in the slabs, reinforcement materials such as fiber mesh or steel bars are used to secure the stone and prevent it from breaking during future use.
5. Material Planning
A material plan is created based on the production schedule, optimizing the use of each slab to minimize waste and ensure efficient material use.
6. Cutting to Specification
Using a bridge-cutting machine, the slabs are cut to the required specifications, ensuring smooth edges. To prevent chipping when processing the water wave surface, an additional 30mm cutting margin is added to the length and width dimensions.
7. Specification Slab Inspection
Once the slabs are cut to size, a second inspection is carried out to ensure the dimensions are accurate.
8. Grooving
Grooves are created on the slabs following the design of the water wave pattern. Symmetry is key during this step, especially in the width direction, to ensure even distribution of the grooves.
9. Water Wave Surface Processing
This is the most critical step of the process and requires skilled craftsmen to create a fluid, wave-like appearance on the surface. The goal is to achieve a strong flowing wave effect that resembles the movement of water. This step requires a high level of expertise and experience to execute properly.
10. Slab Color Adjustment and Numbering
To prevent significant color differences, careful color matching and numbering are done. This step ensures consistency across all pieces and helps with the proper assembly later on.
11. Re-cutting Process
Re-cutting is performed based on the production plan to ensure evenness in the joints. When re-cutting, attention must be paid to the water wave pattern's groove consistency to avoid misalignment in the seams.

12. Secondary Processing
This includes edge polishing, drilling holes for fixing and cutting installation grooves, and ensuring the slabs are ready for use in construction or installation.
13. Final Slab Arrangement and Inspection
Once all the necessary processing steps are complete, the slabs are arranged and inspected one final time to ensure they meet quality standards before shipment.
14. Protective Treatment
A specialized protective treatment is applied to the surface of the stone, enhancing its durability and aesthetic appeal. This treatment helps protect the stone from stains, moisture, and environmental factors.
15. Labeling
Labels are applied to each stone slab according to the predetermined locations to ensure clarity and traceability during shipping.
16. Packaging
The slabs are carefully packaged with protective materials to prevent damage during transport. Special care is taken to maintain the integrity of the water wave surface, ensuring it reaches the customer in pristine condition.
17. Shipping
Finally, the products are shipped to the customer through the appropriate transportation channels.
In summary, creating a water wave pattern surface on stone involves a series of detailed steps, from raw material selection to the final packaging. Each step requires careful attention to detail, especially during the surface processing phase, to achieve the fluid, wave-like effect that characterizes this stunning and sophisticated finish.